Repairing damaged stair handrail brackets is a crucial task that ensures the safety and functionality of your staircase. As a trusted supplier of high-quality stair handrail brackets, I understand the importance of maintaining these essential components. In this blog post, I will guide you through the process of repairing damaged stair handrail brackets, providing you with practical tips and insights to help you complete the job effectively.
Assessing the Damage
The first step in repairing damaged stair handrail brackets is to assess the extent of the damage. Start by visually inspecting the brackets for any signs of wear, corrosion, or structural damage. Look for cracks, loose screws, or bent components that may compromise the stability of the handrail. If you notice any significant damage, it is important to address it promptly to prevent further issues.
In some cases, the damage may be minor and can be repaired with simple tools and materials. For example, if a screw is loose, you can tighten it using a screwdriver. However, if the damage is more severe, such as a cracked bracket or a broken weld, you may need to replace the bracket entirely.
Gathering the Necessary Tools and Materials
Once you have assessed the damage, it's time to gather the necessary tools and materials for the repair. Here are some common tools and materials you may need:
- Screwdriver set
- Wrench set
- Drill
- Measuring tape
- Replacement brackets (if needed)
- Screws and bolts
- Adhesive or epoxy (for bonding)
- Sandpaper or wire brush (for cleaning)
- Paint or finish (for touch-ups)
Make sure you have all the tools and materials on hand before you start the repair process. This will help you work efficiently and avoid any delays.
Removing the Damaged Bracket
If the bracket needs to be replaced, the next step is to remove the damaged bracket from the staircase. Start by removing any screws or bolts that are holding the bracket in place. Use a screwdriver or wrench to loosen and remove the fasteners. Be careful not to damage the surrounding area or the handrail itself.
Once the fasteners are removed, gently pry the bracket away from the staircase using a flathead screwdriver or a pry bar. If the bracket is stuck, you may need to use a little force, but be careful not to damage the staircase or the handrail.
Cleaning and Preparing the Area
After removing the damaged bracket, it's important to clean and prepare the area for the new bracket. Use a sandpaper or wire brush to remove any rust, paint, or debris from the surface of the staircase where the bracket will be installed. This will help ensure a strong and secure bond between the bracket and the staircase.
Next, measure the dimensions of the new bracket to ensure it fits properly in the space where the old bracket was removed. If necessary, make any adjustments to the new bracket or the staircase to ensure a perfect fit.
Installing the New Bracket
Once the area is clean and prepared, it's time to install the new bracket. Start by positioning the new bracket in place on the staircase and aligning it with the holes or mounting points. Use a drill to create pilot holes for the screws or bolts. Make sure the pilot holes are the correct size and depth to ensure a secure fit.
Next, insert the screws or bolts through the holes in the bracket and into the staircase. Use a screwdriver or wrench to tighten the fasteners securely. Make sure the bracket is level and straight before tightening the fasteners completely.
If the bracket requires bonding, apply a small amount of adhesive or epoxy to the surface of the staircase where the bracket will be installed. Press the bracket firmly into place and hold it in position for the recommended amount of time to allow the adhesive or epoxy to dry and cure.
Testing the Handrail
After installing the new bracket, it's important to test the handrail to ensure it is secure and stable. Grab the handrail firmly and try to move it back and forth or up and down. If the handrail feels loose or wobbly, check the fasteners to make sure they are tightened securely. If necessary, adjust the fasteners or add additional support to the handrail.
Once you are satisfied with the stability of the handrail, give it a final inspection to make sure there are no loose screws, cracks, or other issues. If everything looks good, you can proceed to the next step.
Finishing Touches
The final step in the repair process is to add any finishing touches to the handrail and the bracket. If the bracket or the handrail has been painted or finished, you may need to touch up the paint or finish to match the surrounding area. Use a small brush or a spray can to apply the paint or finish evenly.
If the bracket has a decorative element, such as a cap or a finial, make sure it is installed correctly and securely. This will help enhance the appearance of the handrail and the staircase.
Conclusion
Repairing damaged stair handrail brackets is a relatively simple process that can be completed with basic tools and materials. By following the steps outlined in this blog post, you can ensure the safety and functionality of your staircase and prevent any further damage or accidents.

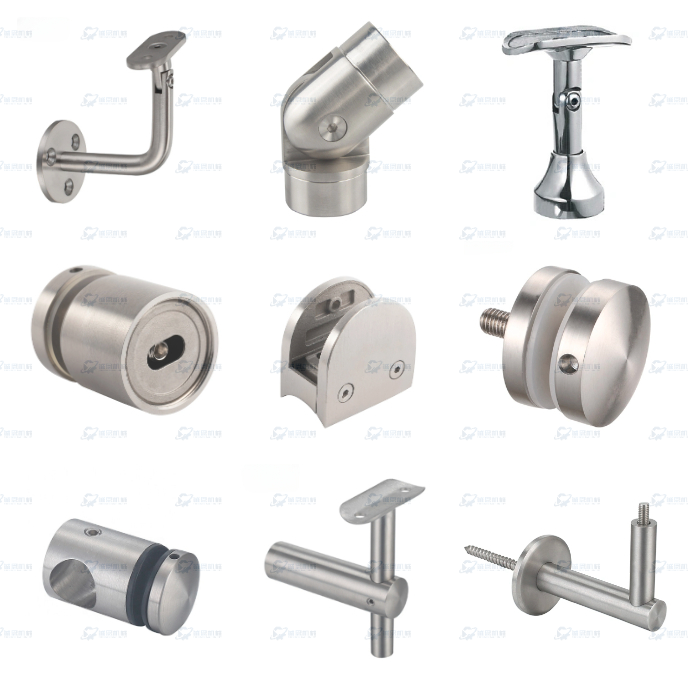
As a supplier of high-quality stair handrail brackets, I offer a wide range of products to meet your needs. Whether you need a Stainless Steel Stair Handrail Bracket, a Stainless Steel Staircase Railing Pipe Elbow, or a Brushed Staircase Railing Metal Hardware, I have the products and expertise to help you find the right solution for your project.
If you have any questions or need further assistance with your stair handrail bracket repair or replacement, please don't hesitate to contact me. I am here to help you ensure the safety and beauty of your staircase.
References
- "Stair Handrail Installation Guide" - Home Depot
- "How to Repair a Broken Stair Handrail" - This Old House
- "Safety Standards for Stair Handrails" - Occupational Safety and Health Administration (OSHA)